
How to Replace Your Xbox One Joystick: The Ultimate DIY Guide
Introduction
Replacing an Xbox One joystick doesn’t have to be a daunting task. With the right guidance, this repair is entirely manageable and even rewarding. A responsive joystick is essential for an optimal gaming experience. By following this guide, you will learn how to replace a faulty joystick, ensuring your controller works smoothly for those intense gaming sessions.
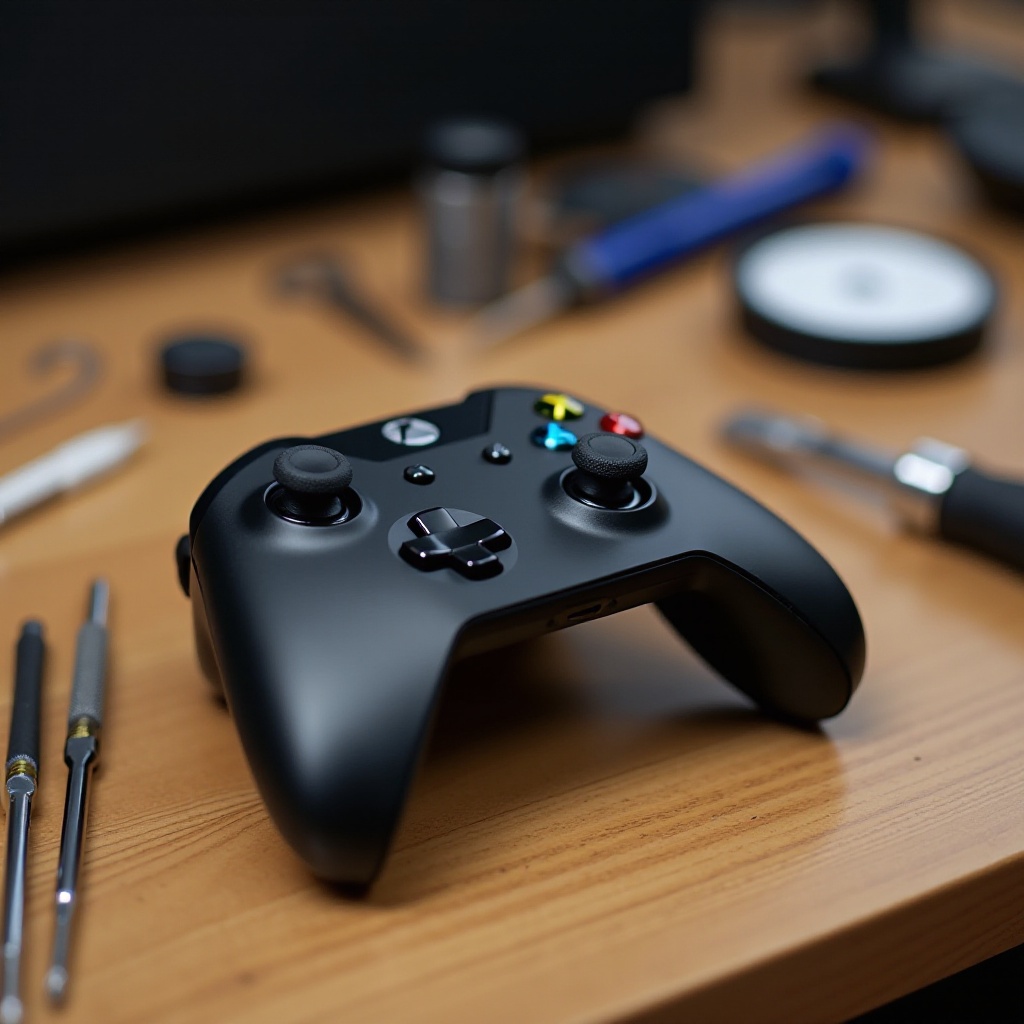
Tools and Materials Required
Before you start, gather all necessary tools and materials to make the process seamless:
- Precision screwdriver set
- Plastic prying tool
- Tweezers
- Replacement joystick modules
- Isopropyl alcohol and cotton swabs for cleaning
Having these tools at hand will make the replacement process efficient and hassle-free. Most of these items are available at electronics stores or online, ensuring you can start without delay.
Safety Precautions
Ensuring safety is crucial before you begin disassembling any electronic device. Taking the following precautions will protect you and your controller from potential harm:
- Power Off: Ensure the controller is turned off and disconnected.
- Anti-Static Measures: Ground yourself to prevent static discharge that can damage internal components. Consider using an anti-static wristband.
- Gentle Handling: Use your tools gently to avoid damaging delicate parts.
With these safety tips in mind, you’ll be well-prepared to start the repair process.
Disassembling the Xbox One Controller
To access the joystick, you’ll need to take the controller apart carefully. Follow these steps to open your Xbox One controller:
- Remove the Battery Cover: Start by removing the battery cover and taking out the batteries.
- Unscrew the Back: Use a precision screwdriver to remove the screws on the back of the controller.
- Separate the Shell: Carefully use a plastic prying tool to gently separate the shell halves.
This careful disassembly ensures that you can access the joystick without damaging the exterior casing.
Removing the Old Joystick
Now that the controller is open, your focus will be on removing the faulty joystick. Here’s what you need to do:
- Identify the Joystick: Locate the joystick module that needs replacement.
- Desolder if Necessary: If your model requires soldering, carefully desolder the wires using a soldering iron.
- Extract the Module: Gently remove the joystick module with tweezers.
Taking your time with these steps will ensure that nothing else gets damaged in the process.
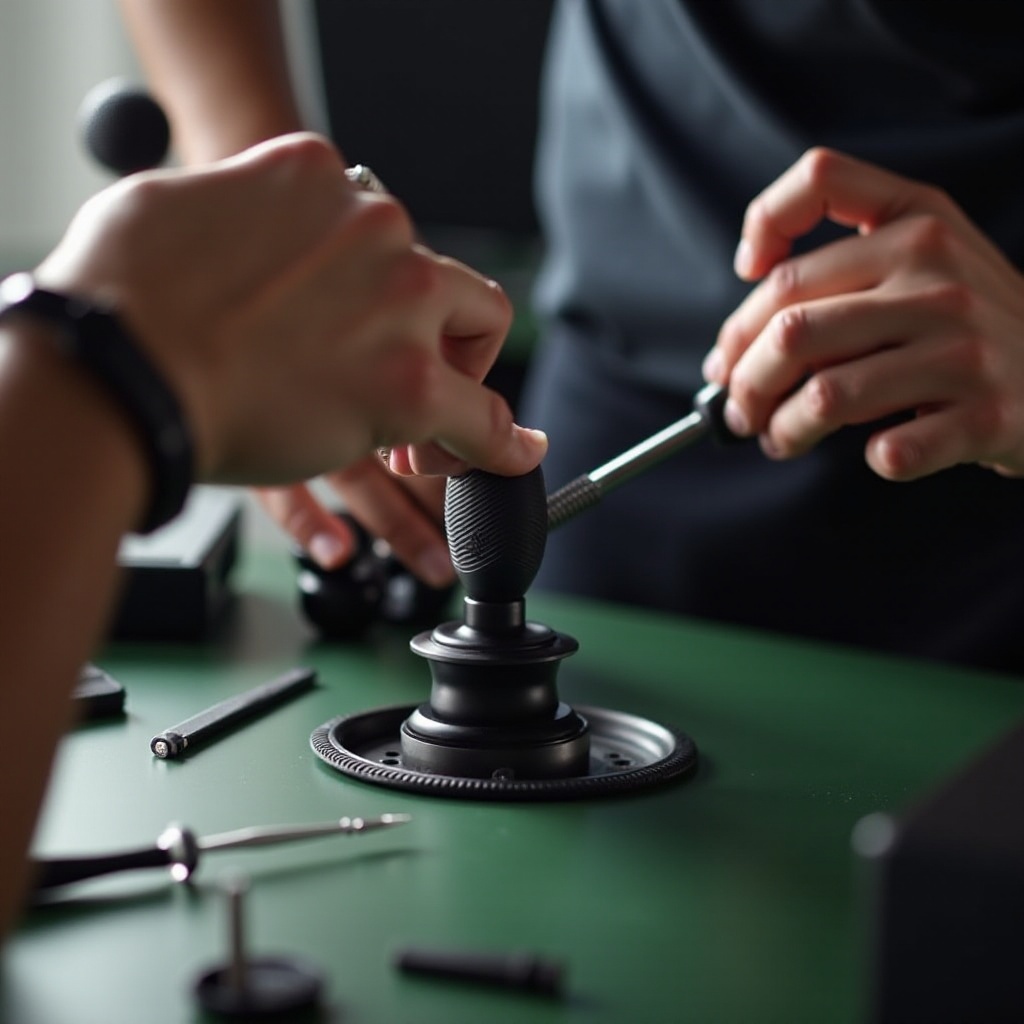
Installing the New Joystick
With the old joystick removed, it’s time to place in the new one. Follow these steps carefully:
- Position the New Joystick: Align the new joystick module correctly in the slot.
- Solder Connections: If needed, solder the wires back to the new module carefully.
- Secure the Module: Ensure the module is firmly positioned and secure.
This step determines the function of your controller, so take extra care to get it right.
Reassembling the Controller
After successfully installing the new joystick, reassemble your controller using these steps:
- Snap the Shell Back: Align the shells and press them firmly together.
- Screw the Back Cover: Replace and tighten the screws securely.
- Reattach the Battery Cover: Insert the batteries and snap the cover back on.
Proper reassembly ensures your controller looks as good as new.
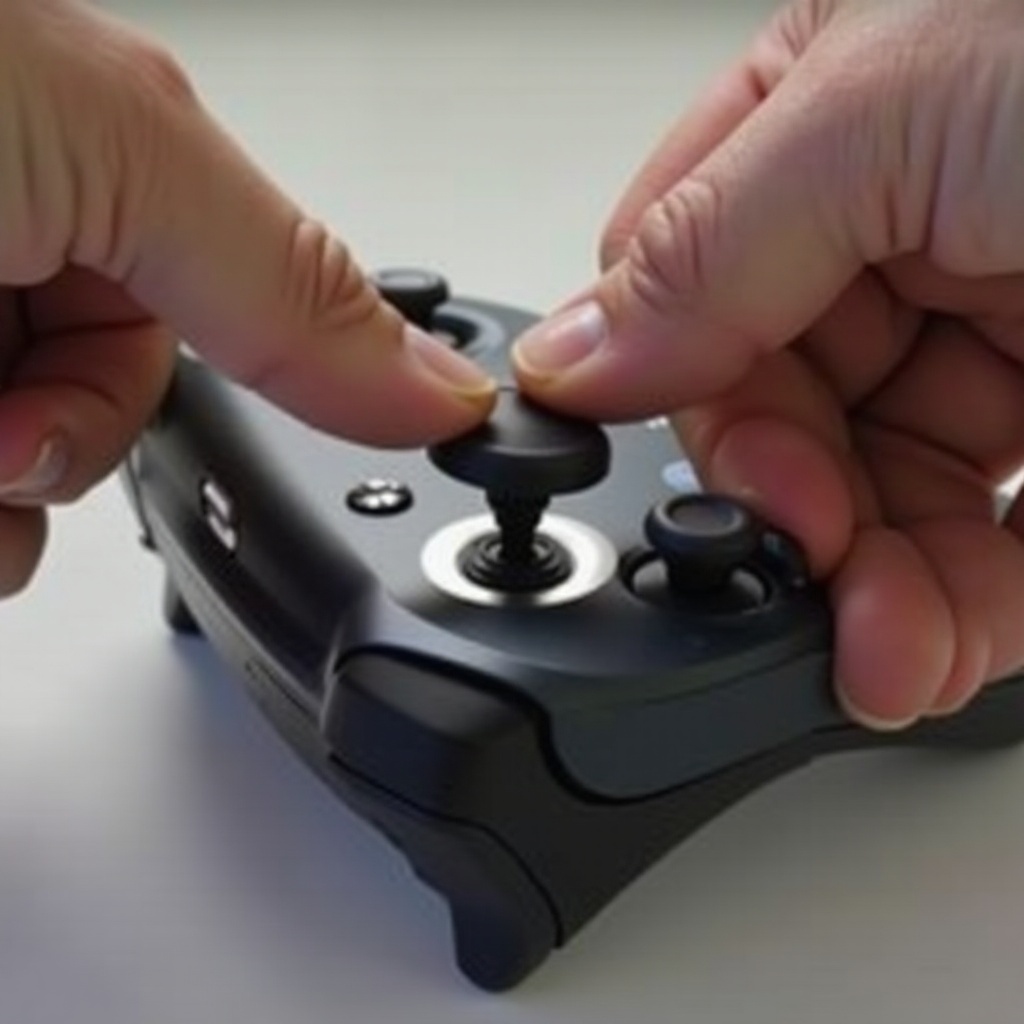
Testing the Controller
Before jumping back into your games, test the controller to confirm everything is working:
- Power It On: Turn on the controller and connect it to your console.
- Evaluate Functionality: Move the joystick and test all buttons to ensure they function correctly.
If any part fails, review the assembly steps to identify any issues.
Maintenance Tips for Your Xbox Controller
Maintaining your Xbox controller not only prolongs its life but also enhances its performance. Consider the following tips:
- Regular Cleaning: Clean your joysticks regularly with isopropyl alcohol to prevent buildup.
- Gentle Use: Avoid excessive pressure to extend joystick lifespan.
- Safe Storage: Store your controller in a dry, cool place to protect it from environmental damage.
By implementing these maintenance tips, you can keep your controller in excellent working condition for many gaming sessions to come.
Conclusion
By following this comprehensive guide, you should now feel confident in replacing your Xbox One joystick. With careful attention to each step, you can restore your controller’s functionality and extend its lifespan. Regular maintenance will further ensure you enjoy countless hours of uninterrupted gaming pleasure.
Frequently Asked Questions
What tools do I need to replace the Xbox One joystick?
You’ll need a precision screwdriver set, plastic prying tool, tweezers, replacement joystick modules, isopropyl alcohol, and a soldering iron if required.
How long does it take to replace the joystick?
The process typically takes 30 to 45 minutes, depending on your skill level.
Can I replace the joystick if I’ve never done any console repair before?
Yes, this guide is designed for beginners and provides detailed steps to ensure a successful repair.