
August 7, 2025
Things You Must Know Before Installing an Outdoor Camera
Installing an outdoor camera enhances home security, keeping unwanted visitors at bay. Many homeowners seek this added layer of protection, but there are crucial factors to consider before installation. Knowing these aspects helps in choosing the right camera and ensuring its efficacy. Missteps in installation may lead to poor performance or false alerts. This guide will cover the essentials you need to know about features, location, and installation processes of outdoor cameras.
Understanding the Key Features of Outdoor Cameras
Resolution and Field of View
Resolution and field of view are critical when choosing an outdoor camera. Higher resolution cameras deliver clearer images, enabling you to identify people and objects more easily. Opt for at least 1080p for optimal clarity. The field of view indicates how much area the camera can cover. Wide-angle lenses offer broader coverage, reducing the number of cameras needed. Choose cameras offering at least a 120-degree field of view for average residential monitoring.
Motion Detection Sensitivity
Motion detection prevents unnecessary storage of non-essential footage and helps to alert you about genuine threats promptly. Some cameras enable customization of sensitivity settings, reducing false alarms from pets or swaying trees. The right sensitivity balance will ensure the camera captures relevant activities without overwhelming you with alerts. Test and adjust settings after installation to match your specific needs and environment.
Power Supply Options: Wired vs. Wireless
Power supply options significantly affect flexibility and reliability in camera installations. Wired cameras offer a continuous power supply, eliminating battery-change hassles but may require professional installation. Wireless models, often battery-powered or solar-charged, offer easier installations but require regular battery maintenance. Consider your long-term preferences regarding maintenance and interference risk before making a choice.
Choosing the Right Location for Installation
Best Areas for Surveillance Coverage
Ideal camera locations cover vital entry points such as front and back doors, ground-level windows, and garage doors. Angle cameras to focus on these areas while considering concealment factors to avoid tampering. Secondary entry points might need coverage depending on the property size and layout. Proper positioning maximizes visibility and deters potential intruders. Always consider neighborhood and home-specific security needs when selecting surveillance areas.
Avoiding Obstructions and Blind Spots
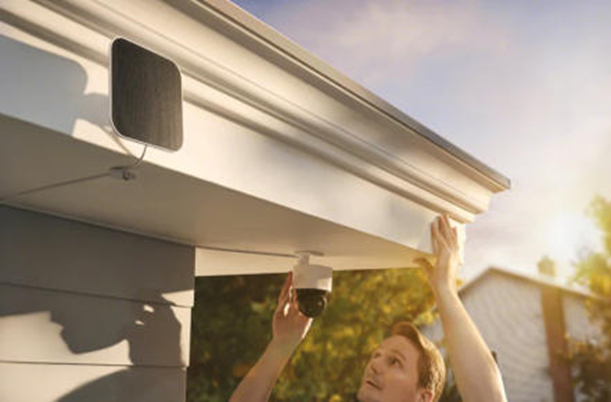
Effective camera placement requires awareness of potential obstructions. Trim trees and bushes regularly to prevent interference. Install cameras on walls or eaves to minimize obstructions and maximize visibility. Experiment with angles to identify and eliminate blind spots, ensuring comprehensive coverage. By eliminating potential obstacles, you ensure security footage is clear and precise. Regular reviews after seasonal changes will keep your surveillance effective.
Height and Angle Considerations
Camera height and angle directly affect the quality of the footage. Installing outdoor cameras 8-10 feet above ground strikes a balance between avoiding tampering and capturing clear faces. Tilt the camera slightly downward for a full view of the area in focus. Avoid excessive angles that may only capture the top of heads or produce shadow casting. Practical positioning involves trial placements and gradual adjustments for optimal coverage.
Preparing Your Outdoor Space for Camera Installation
Power Source Setup and Extension Cords
Reliable power sources are vital for wired cameras. Plan the nearest available outlet, and consider weatherproof extension cords to prevent disruptions. Conceal cords for a cleaner look and reduce tampering risks. If no power outlet is available, consult a professional electrician for safe installations. Battery-powered models may need solar panels for continuous power in remote areas. Efficient power setups ensure your camera operates without interruptions.
Protecting the Camera from Weather Conditions
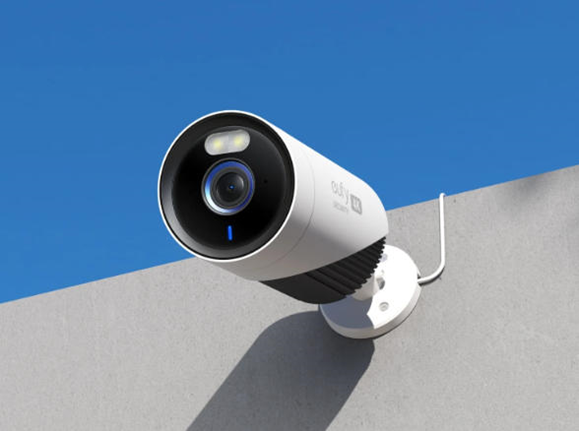
Outdoor cameras must withstand harsh weather conditions, including rain, snow, and extreme temperatures. Invest in cameras with IP65 or higher weatherproof ratings for durability. Install under eaves or use protective camera covers for added protection. Regularly check seals and housing integrity for wear and tear. By proactively shielding cameras, you preserve their longevity and accuracy throughout the year.
Ensuring Proper Internet Connectivity
Reliable internet connectivity is crucial for wireless cameras relying on Wi-Fi. Position cameras within range of your home’s router or invest in Wi-Fi extenders. Consider Ethernet connections for quicker data transmission if wiring is feasible. Test connections prior to permanent installation to prevent signal loss. A stable internet connection ensures continuous camera feed access and real-time alerts.
Common Mistakes to Avoid During Installation
Installing Too High or Low
Camera placement errors, like installing too high or too low, can significantly impact functionality. Too high, you risk missing vital details, while too low exposes the camera to tampering or damage. Consistent regulation at 8-10 feet helps maintain clarity and security. Height matters in capturing facial details, so never compromise on this aspect. Regular assessments post-installation will help you find the ideal height.
Incorrect Camera Placement Leading to False Alerts
Incorrect camera placement could lead to an overwhelming number of false alerts. Ensure motion detectors are directed away from high-traffic areas like sidewalks or streets to prevent unnecessary triggers. Aim cameras towards entry pathways or doorways. Adjust sensitivity post-installation based on environmental factors unique to each location. By avoiding these pitfalls, you enhance the reliability of alerts and recorded footage.
Ignoring Camera Maintenance After Installation
Once installed, regular maintenance ensures your cameras remain operational and effective. Clean lenses routinely to avoid distortion from dust or pollen. Check for software updates to enhance functionality and security. Inspect wiring for damage to maintain an uninterrupted power supply. By regularly inspecting and maintaining the cameras, you prolong their life while ensuring maximum security coverage.
Conclusion
Proper knowledge and preparation are vital in the successful installation of outdoor cameras. From understanding features and location planning to avoiding common errors, adhering to best practices ensures your security system operates efficiently. This guide serves as an essential checklist, offering peace of mind by preventing costly mistakes and optimizing surveillance. Combined with regular maintenance and proper system updates, your outdoor cameras promise long-term, reliable security for your home or business.