
How to Open Your Xbox One Controller Safely
Introduction
Xbox One controllers are vital for any gaming enthusiast, providing the necessary link to immersive gameplay. However, when issues like button malfunctions, drift problems, or connectivity issues arise, knowing how to open and repair your Xbox One controller becomes essential. This guide offers clear, step-by-step instructions to help you safely open, maintain, and reassemble your controller.
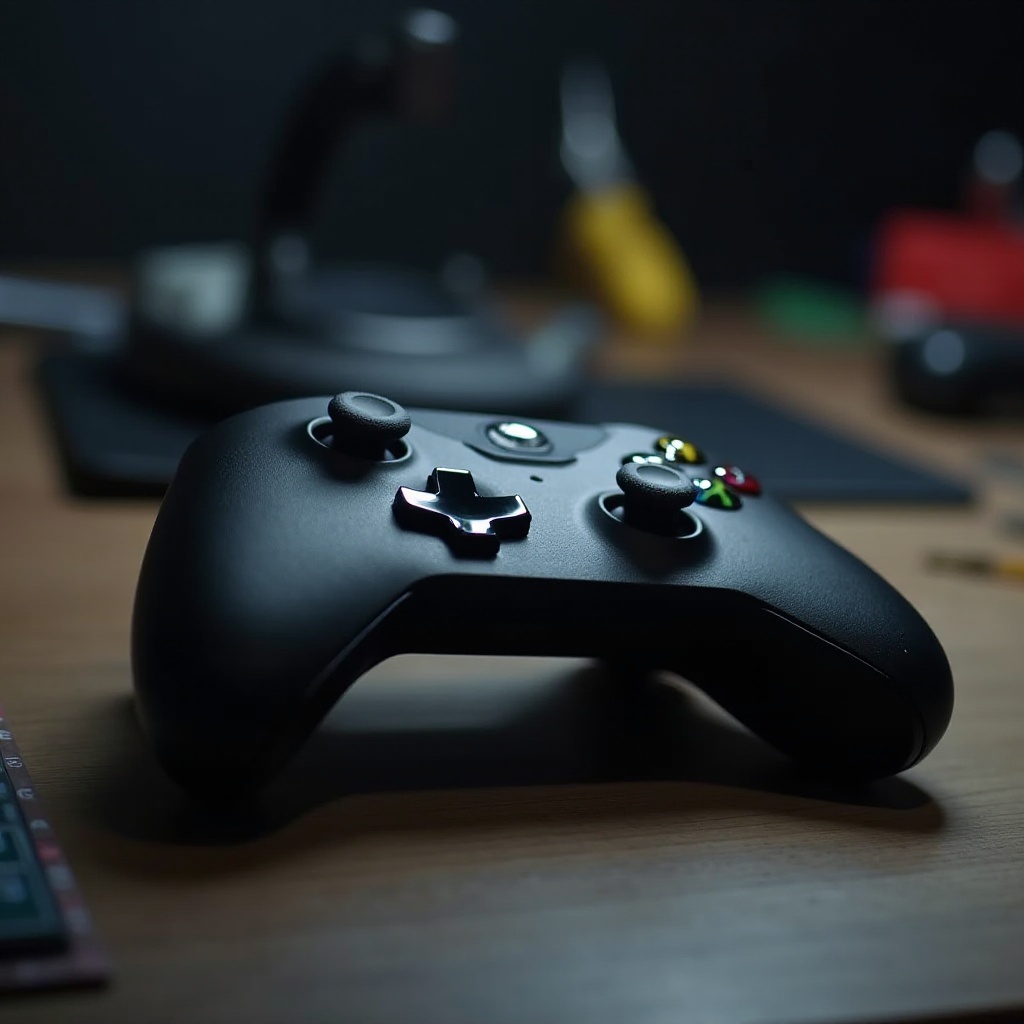
Why You Might Need to Open Your Xbox One Controller
You might find yourself needing to open your controller for various reasons, especially when faced with common technical problems.
-
Common Issues Faced by Xbox One Controllers: Users often report problems like joystick drift, sticky buttons, or trouble with battery connectivity. Such issues can significantly affect gaming sessions.
-
When DIY Makes Sense: Many times, minor problems can be fixed at home, saving time and money. If the issues are not severe, a DIY approach is both practical and educational. However, some problems might require professional intervention to avoid further damage.
Before beginning the opening process, it’s crucial to be fully prepared with the appropriate tools and safety knowledge.
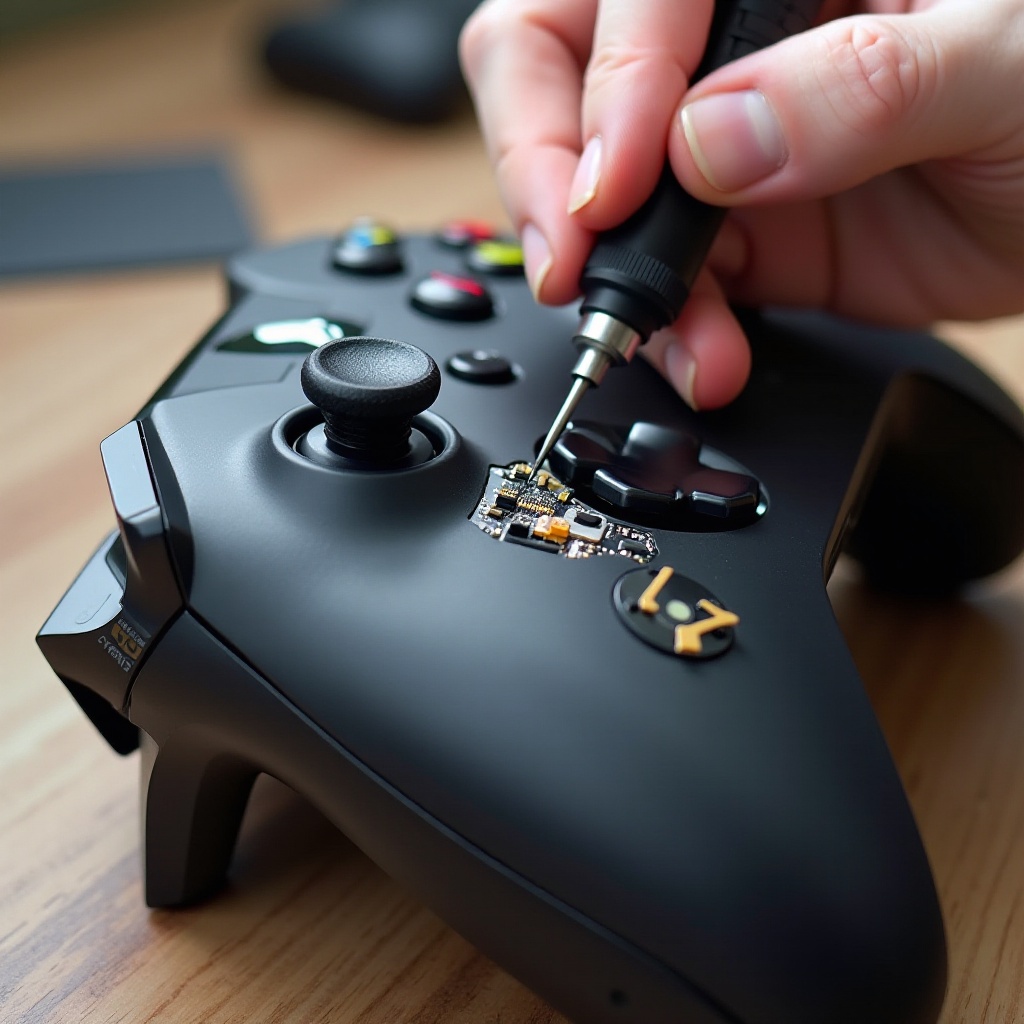
Preparing to Open Your Xbox One Controller
Preparation is key, both in terms of tools and creating a safe working environment.
-
Tools Required: Ensure you have a T8 or T9 Torx screwdriver, a plastic prying tool or spudger, and a small tray to keep screws organized to prevent loss during disassembly.
-
Safety Precautions: Always turn off the controller completely before starting. Work on a non-metallic surface to avoid any static electricity issues, and ensure your workspace is clean and well-lit.
With everything in place, you’re ready to start the delicate process of opening your controller.
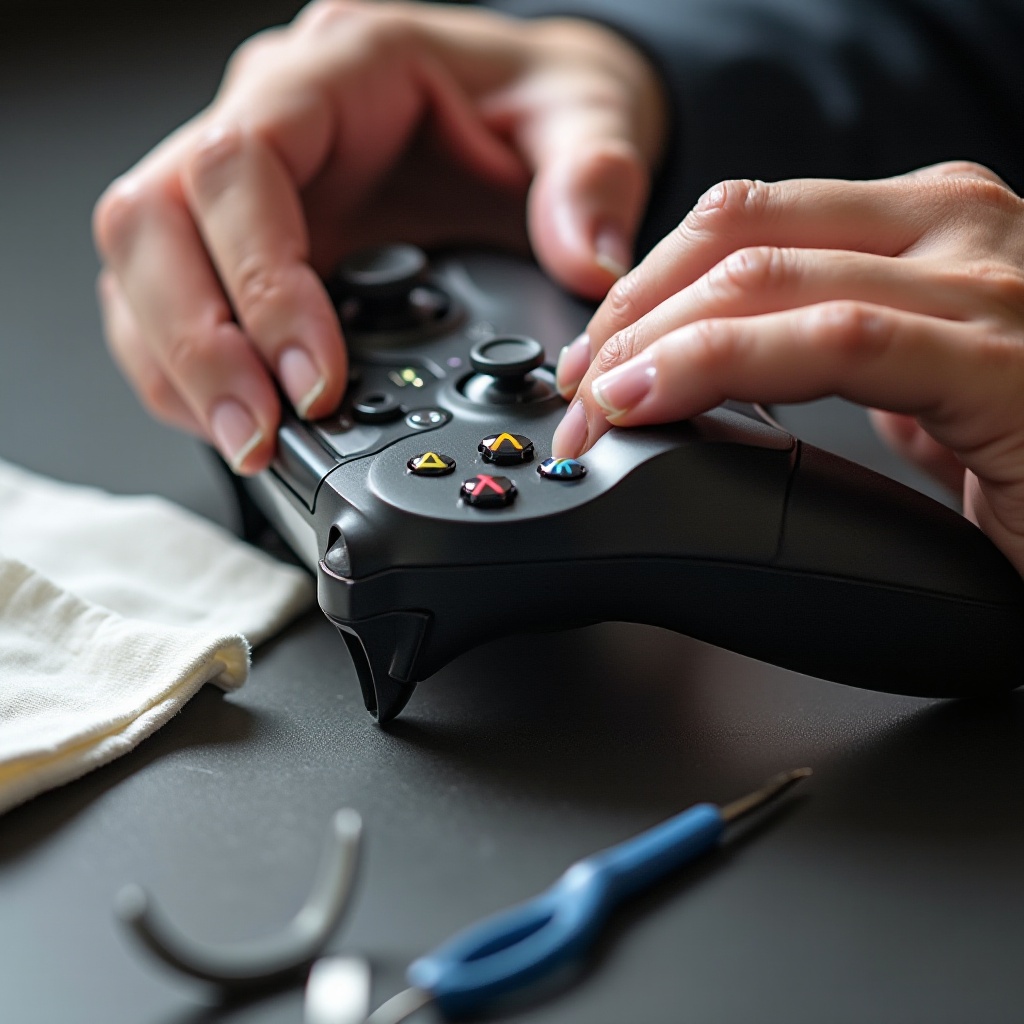
Step-by-Step Guide to Opening Your Xbox One Controller
Carefully follow these steps to open your controller without damaging any parts:
-
Removing the Outer Shell: Gently pry off the side handles with a plastic prying tool to reveal the screws underneath. Use a Torx screwdriver to unscrew them from the back of the controller.
-
Accessing Internal Components: Separate the controller halves gently, being careful of any connecting wires. Identify key components such as buttons, analog sticks, and battery connections that may need attention.
Having accessed the interior, it’s time to focus on cleaning and potential repairs to ensure everything functions smoothly.
What to Do After Opening Your Controller
Once open, your focus should shift to cleaning and minor repairs:
-
Cleaning and Maintenance Tips: Use compressed air or a soft brush to remove dust and debris. For tougher grime, gently apply isopropyl alcohol with a cotton swab. Regular cleaning prevents future issues and extends the lifespan of your device.
-
Inspecting and Repairing Components: Check for loose parts and ensure any malfunctioning buttons are well connected. For joystick drift, clean carefully around the analog stick area and ensure they sit correctly.
Thorough cleaning and repairs completed, it’s time to reassemble your Xbox One controller.
Reassembling Your Xbox One Controller
Putting your controller back together is crucial to ensure proper functionality:
-
Ensuring Proper Reassembly: Carefully align the two halves of the controller shell, making sure all internal parts are in place. Secure the halves with screws, ensuring they are tight but not so much that they strip the plastic.
-
Testing Your Controller: After reassembly, connect your controller to the console and perform a comprehensive check of all buttons, triggers, and analog sticks. Ensure all components are functioning as expected.
Your Xbox One controller should now be ready, allowing you to enjoy flawless gaming experiences once more.
Conclusion
Opening and maintaining an Xbox One controller on your own can be straightforward when equipped with the right knowledge and tools. This guide has detailed the necessary steps for basic repairs and maintenance, ensuring your controller continues to deliver optimal performance. Handle the internal parts with care, and don’t hesitate to consult a professional if certain issues seem too challenging to manage on your own.
Frequently Asked Questions
What tools do I need to open an Xbox One controller?
You’ll need a T8 or T9 Torx screwdriver, a plastic prying tool or spudger, and a tray for securing screws.
Can opening my Xbox One controller void its warranty?
Yes, opening the controller can void the warranty. Check your warranty status before proceeding and consider professional services if it’s still valid.
How can I tell if my controller needs professional repair?
Seek professional help if you encounter severe internal damage or aren’t confident in your repair skills to avoid causing further damage.