
How to Fix PS4 Controller Charging Port: A Comprehensive Guide
Introduction
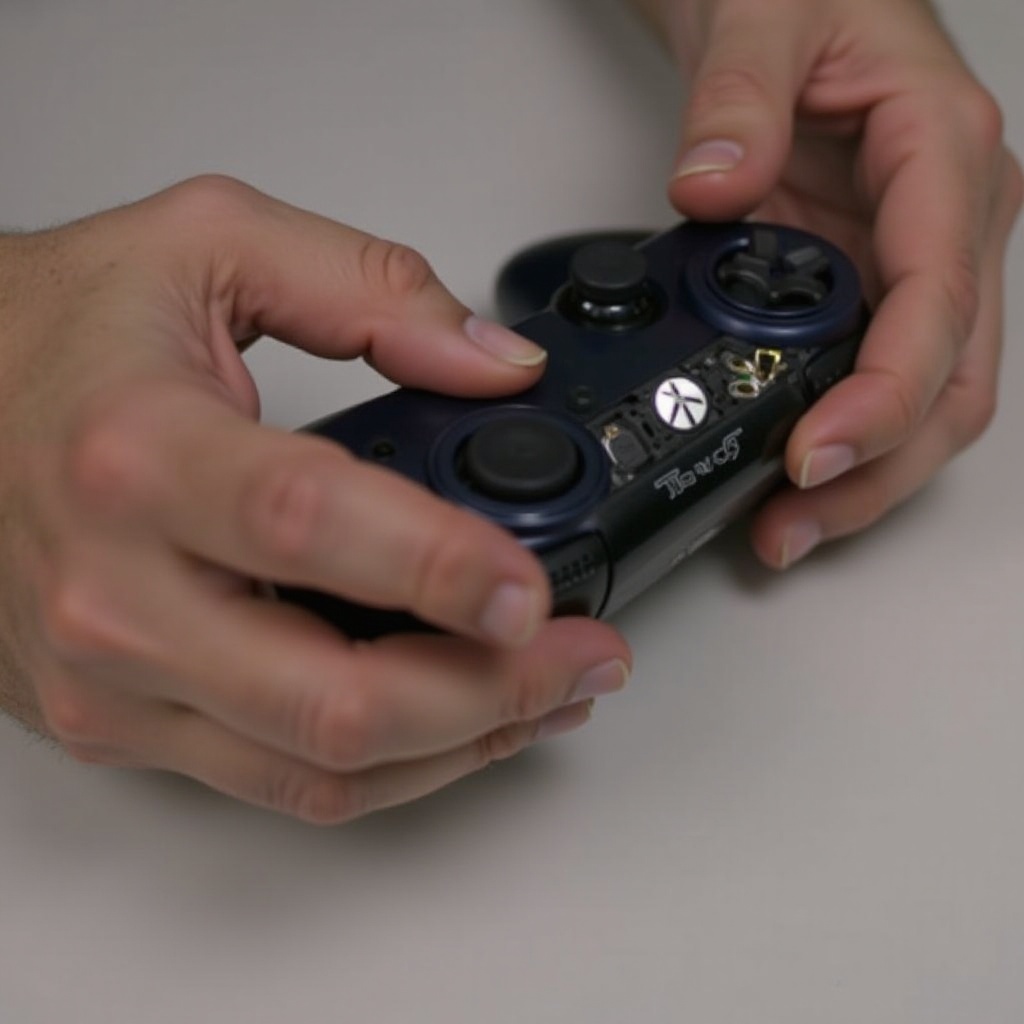
The PS4 controller is essential for an immersive gaming experience. When its charging port malfunctions, it can disrupt your gaming sessions significantly. This guide provides you with the information you need to fix a PS4 controller charging port yourself smoothly and effectively. By learning about the common issues, gathering the necessary tools, and understanding step-by-step solutions, you can restore your controller’s functionality.

Understanding PS4 Controller Charging Port Issues
Before starting any repair, it’s crucial to identify the symptoms of a faulty charging port. A correct diagnosis ensures you can apply the right fix without unnecessary steps.
- Common Symptoms of a Faulty Charging Port
- The controller does not charge when connected.
- The charging cable fits loosely and disconnects easily.
- Charging only works when the cable is positioned in a specific way.
Once these symptoms are recognized, proceed to the initial troubleshooting steps. These preliminary measures often resolve the issues and can avoid the need for more extensive repairs.
Preliminary Troubleshooting Steps
Simple troubleshooting can often fix minor issues without needing a complete disassembly. Try these easy steps before moving on to more involved tasks.
- Inspecting the USB Cable
- Look for any physical damage or fraying on the cable.
-
Try charging with a different USB cable to see if the problem persists.
-
Checking the Charging Port for Debris
- Use a flashlight to inspect the port for dust or lint.
-
Clean out debris carefully with compressed air.
-
Testing with an Alternative Charging Cable
- Consider testing with a high-quality or official Sony cable.
- Sometimes the issue lies with the cable rather than the port.
If these measures don’t solve the problem, you might need to delve into more detailed repairs.
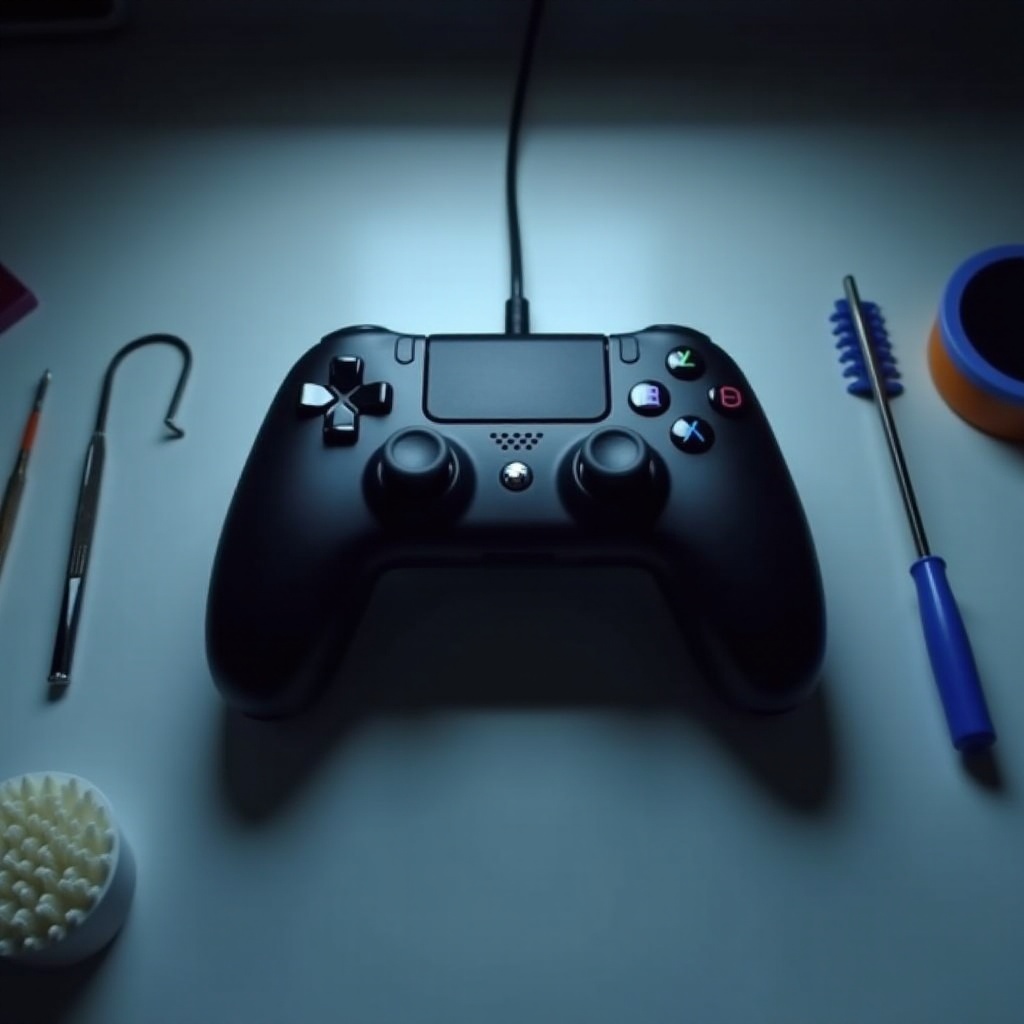
Tools and Safety Precautions
Before diving deeper, make sure you have the right tools and understand the safety needed to prevent further damage.
- Essential Tools: Precision screwdriver set, tweezers, compressed air.
- Safety Precautions: Work on a non-static surface, and ensure a clean, organized environment.
With tools assembled and safety ensured, you’re ready to begin a detailed repair process.
Step-by-Step Repair Guide
This section will guide you through the process of disassembling the controller, cleaning the port, and fixing any underlying issues.
- Disassembling the PS4 Controller
- Unscrew all rear screws of the controller.
-
Pry open the casing carefully using a plastic opening tool to avoid damaging internal wires.
-
Cleaning the Charging Port
- Blow out dust and lint using compressed air.
-
Inspect for bent pins and use tweezers to straighten them if necessary.
-
Fixing Connection Issues
- Check for any loose solder points and repair them with a soldering iron.
-
Ensure that the soldering is precise and doesn’t bridge connections.
-
Replacing the Charging Port
- Purchase a replacement port compatible with your controller.
- Remove the old port using precision tools and carefully install the new one, ensuring it fits securely.
After dealing with hardware issues, you must reassemble the controller and verify its functionality.
Reassembling the Controller and Testing
Your controller is nearly ready once reassembly and functional testing are complete.
- Ensuring Reassembly is Correct
- Fit the casing back together and snap it in place.
-
Tighten all screws securely to prevent internal movement.
-
Testing the Controller
- Connect to a reliable power source and check the charging process.
- Validate that the connection is consistent and stable during normal use.
Successful testing confirms a job well done, but your work isn’t finished until you’ve enacted measures to keep the controller working smoothly.
Preventive Measures for Long-Term Use
Implement regular maintenance and proper handling to prevent future charging port issues.
- Routine Maintenance Tips
- Clean the port with air periodically to maintain cleanliness.
-
Gently unplug the cable after each use to avoid stressing connections.
-
Proper Storage and Handling
- Store in a dust-free environment to minimize debris buildup.
- Handle the controller delicately and avoid dropping it.
Establishing a routine for maintenance can significantly extend the life of your controller, avoiding frequent repairs.
Common Mistakes to Avoid
When repairing electronics like a PS4 controller, minor errors can lead to major issues.
- Using the wrong tools, which might damage sensitive components.
- Ignoring safety precautions, leading to static damage or short circuits.
- Second-guessing yourself when a professional repair might be necessary.
By avoiding these pitfalls, you maximize the likelihood of a successful repair.
Conclusion
Repairing your PS4 controller charging port may appear daunting, but with the correct guidance, it becomes feasible. By diagnosing the problem, adhering to step-by-step solutions, and performing routine maintenance, you can keep your controller in excellent working condition, ensuring uninterrupted gaming enjoyment.
Frequently Asked Questions
How can I tell if my PS4 controller charging port is damaged?
Symptoms include no charging, loose cable connections, or charging only when cable is twisted to a certain position.
Is it safe to repair the charging port myself?
Yes, with the right tools and precautions, it can be done safely. However, seek professional help if unsure.
What should I do if the controller doesn’t work after the repair?
Verify battery and cables, and consider professional repair services if issues persist.