
How to Add a Solid State Drive to a Laptop
Introduction
With advancements in technology, the need to boost our laptops’ performance has become essential. One highly effective way to achieve this is by upgrading to a solid state drive (SSD). Simple tools and a bit of patience can enable you to perform this upgrade at home, significantly enhancing your laptop’s speed and overall performance. In this comprehensive guide, you’ll learn how to select the right SSD, prepare for the installation, and ensure a seamless setup. By adding an SSD, you’ll turn your laptop into a powerhouse capable of handling modern applications efficiently, making this upgrade a smart investment.
Why Upgrade Your Laptop with an SSD?
Switching from a traditional hard drive to an SSD can drastically improve your laptop’s performance. Solid state drives offer several advantages, including faster boot times, quicker data transfers, and improved system responsiveness, thanks to their lack of moving parts. This also means lower power consumption, which can prolong battery life, and added durability, minimizing the risks of data loss due to physical impact.
Moreover, the longevity of an older laptop can be extended significantly with an SSD upgrade. This allows users to enjoy modern software capabilities without needing to invest in a new device. SSDs also operate silently and produce less heat, contributing to a more comfortable user experience.
Choosing the Right SSD for Your Laptop
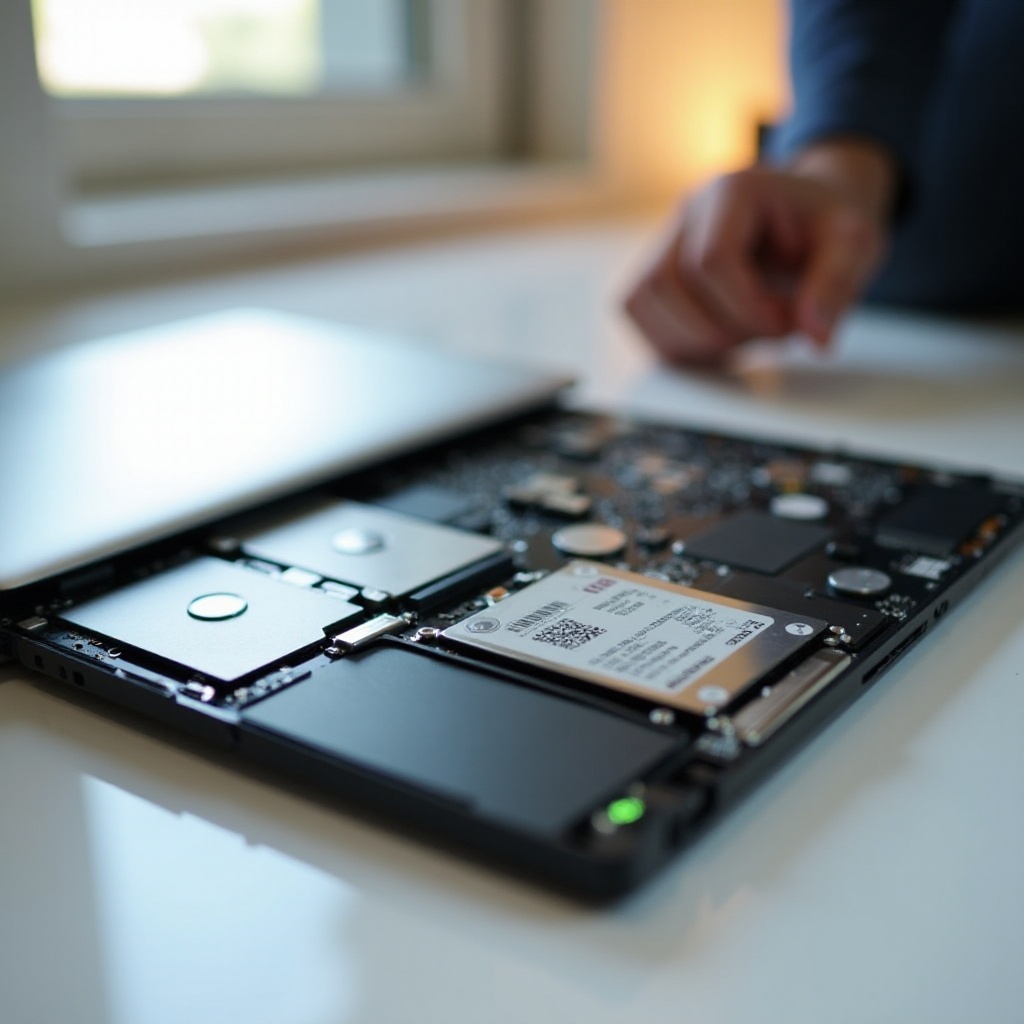
Choosing an appropriate SSD is critical for ensuring optimal performance post-upgrade.
Understanding SSD Types
There are primarily two types of SSDs to consider: SATA and NVMe. SATA SSDs, being the more conventional and cost-effective option, are compatible with most laptops and provide a significant speed boost over traditional hard drives. For those seeking ultra-fast data transfer rates, especially useful for demanding tasks like video editing or gaming, NVMe SSDs are ideal. However, NVMe SSDs require compatibility with the M.2 slot in your laptop.
Determining SSD Capacity and Compatibility
To choose the right SSD capacity, consider your laptop usage. For basic activities like browsing and handling documents, a 256GB SSD might suffice. If your activities involve storing large files or installing many programs, consider a 512GB or 1TB SSD. Always verify your laptop’s manual for supported interface types and dimensions to ensure physical compatibility.
Preparing for the SSD Installation
Proper preparation is key to a smooth installation process.
Tools and Equipment Required
Before commencing the installation, gather tools such as a screwdriver (typically a Phillips-head), an external storage device or cloud service for data backing, and your new SSD. Certain laptops might have proprietary components requiring specialized tools, so refer to your laptop’s manual.
Backup Important Data
Backing up important data is a crucial step in avoiding data loss. Utilize an external hard drive or a reliable cloud service to secure your files before starting the installation. This step becomes indispensable if you plan on executing a clean installation of your operating system on the new SSD.

Installing the Solid State Drive
The actual installation phase involves multiple careful steps.
Accessing the Laptop’s Hard Drive Bay
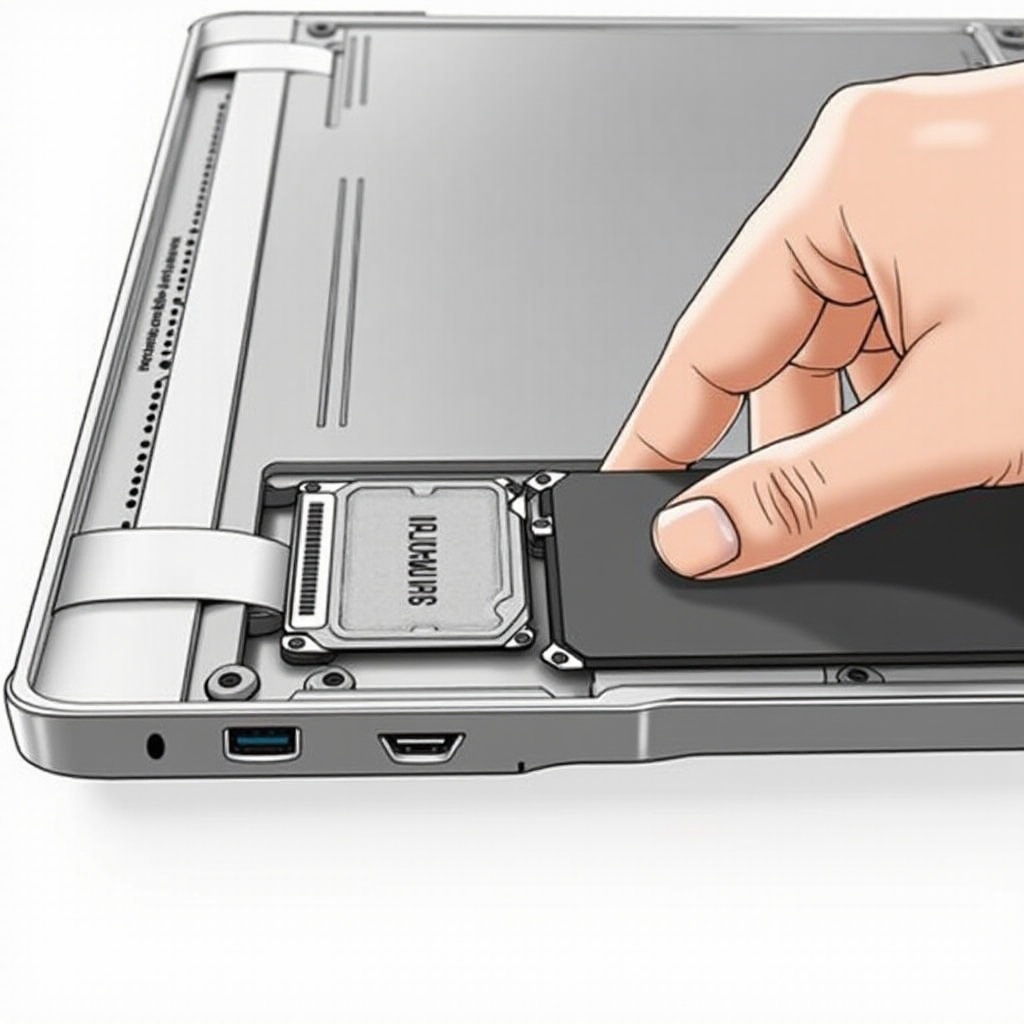
Begin by powering off the laptop and unplugging any connected cables and peripherals. Flip over your laptop to access the bottom panel. Remove the screws of the panel and gently open it. Locate your laptop’s existing hard drive inside. Detach it gently by removing screws or cables that hold it in position.
Securing the SSD in Place
Position the new SSD into the slot previously occupied by the old hard drive. Fasten it with the provided screws, ensuring it’s snug and well connected to the mounting bracket or adapter. After securing the SSD, place back the bottom panel, carefully tighten all screws, and reassemble your laptop.
Setting Up Your New SSD
Post installation, configuring your new SSD is essential.
Installing Operating System or Cloning Drive
You have two setup options: perform a clean installation of your operating system or clone your previous hard drive. A clean install utilizes a bootable USB to install the OS, while cloning transfers existing data from your backup onto the SSD using software. Both methods have their merits, depending on whether you prefer starting fresh or retaining existing data.
Adjusting BIOS/UEFI Settings
With the SSD installed, access your laptop’s BIOS/UEFI menu by pressing a specific key during startup (usually F2, F12, Esc, or Delete). Here, confirm that your SSD is set as the primary boot drive to ensure your system recognizes the SSD and boots correctly from it.
Optimizing and Maintaining SSD Performance
Once your SSD is up and running, maintaining its performance should be a priority.
Tips for Boosting SSD Longevity
For optimal longevity, avoid filling your SSD to capacity—keeping at least 20% of space free is advisable. Enabling the TRIM command is essential, as it allows the operating system to inform the SSD about unused data blocks, helping maintain optimal performance.
Regular Maintenance Practices
Regular updates to your operating system and SSD firmware can introduce beneficial enhancements. Avoid defragmenting your SSD, which is unnecessary and can shorten its lifespan. Instead, utilize disk cleanup utilities routinely to keep the drive free of clutter.
Conclusion
Installing an SSD in your laptop not only enhances its speed and efficiency but breathes new life into your device. This approachable upgrade is within reach for most users and offers an impressive boost to computing performance. With this guide, you’re equipped to confidently enhance your laptop’s capabilities with an SSD upgrade.
Frequently Asked Questions
Can I install an SSD in any laptop?
Most laptops support SSDs, but compatibility depends on factors like size, interface, and available slots. Check your laptop’s specifications before purchasing an SSD.
What is the difference between SATA and NVMe SSDs?
SATA SSDs use the older SATA interface, offering substantial speed improvements over hard drives. NVMe SSDs use the PCIe interface, delivering faster performance.
How do I transfer my data to the new SSD?
Data can be transferred by cloning the existing drive using cloning software or by performing a clean OS install and restoring files from backups.